

Contents
Sections
Tool Guides1
Ironing & Finishing0
No posts yet
Projects & Ideas0
No posts yet
Site Updates1
Just stepping into the world of perler beads and feeling lost among all the different tools? Don't worry — we've put together a starter list to get you going.
Seven items in total: the first four are for placing beads, the last three are for ironing. Start with the table below for the overview, then read on for the details.
| Tool | What it's for | In one line |
|---|---|---|
| Pegboard | The board you place beads on | Three sizes; boards of the same size connect together |
| Tweezers / bead needle | Picking up and threading beads | Start with tweezers, move to a bead needle once you're comfortable |
| Bead tray | Lays beads down flat | Pairs with the bead needle |
| Bead box | Stands beads upright | Pairs with tweezers |
| Teflon ironing sheet | Protects your piece while ironing | Essential for ironing |
| Lint roller | Lifts lint off the ironing sheet | Use before every ironing session |
| Iron / heat press | Heats and sets the beads | GOGO recommends a semi-automatic heat press |
1. Pegboard
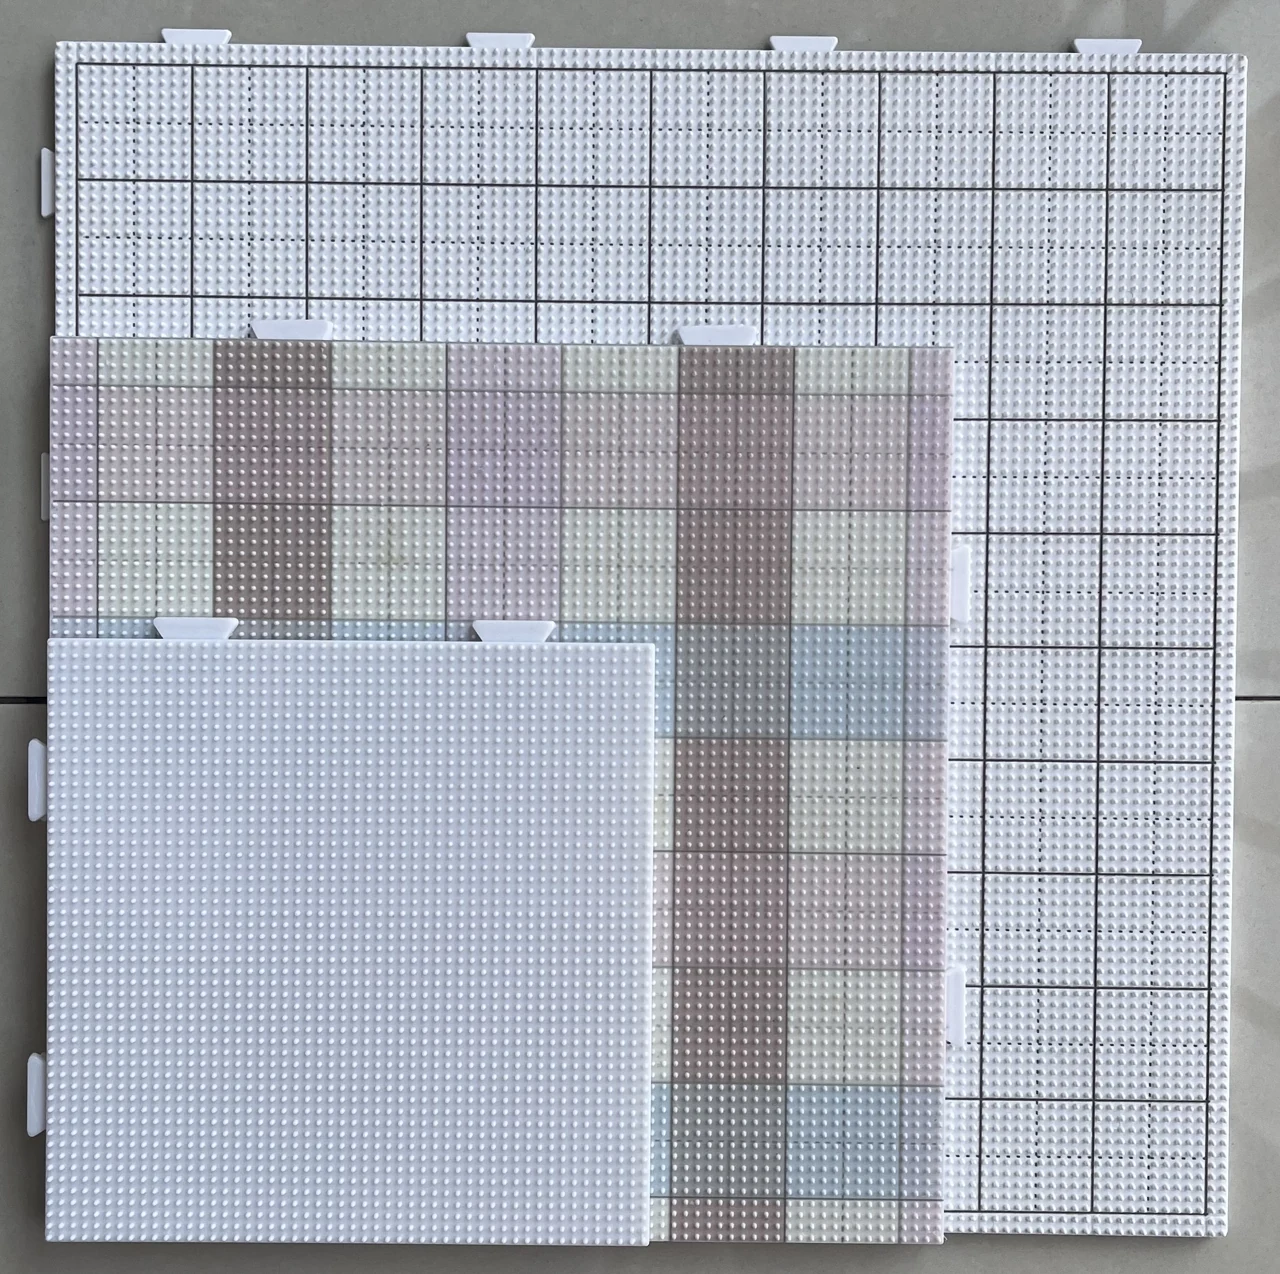
The pegboard is the base you place beads on. There are three common sizes: 52×52, 78×78 and 104×104 — the numbers are the peg count along each side. Boards of the same size connect to each other, so however big your piece gets, you can build it.
2. Tweezers / bead needle
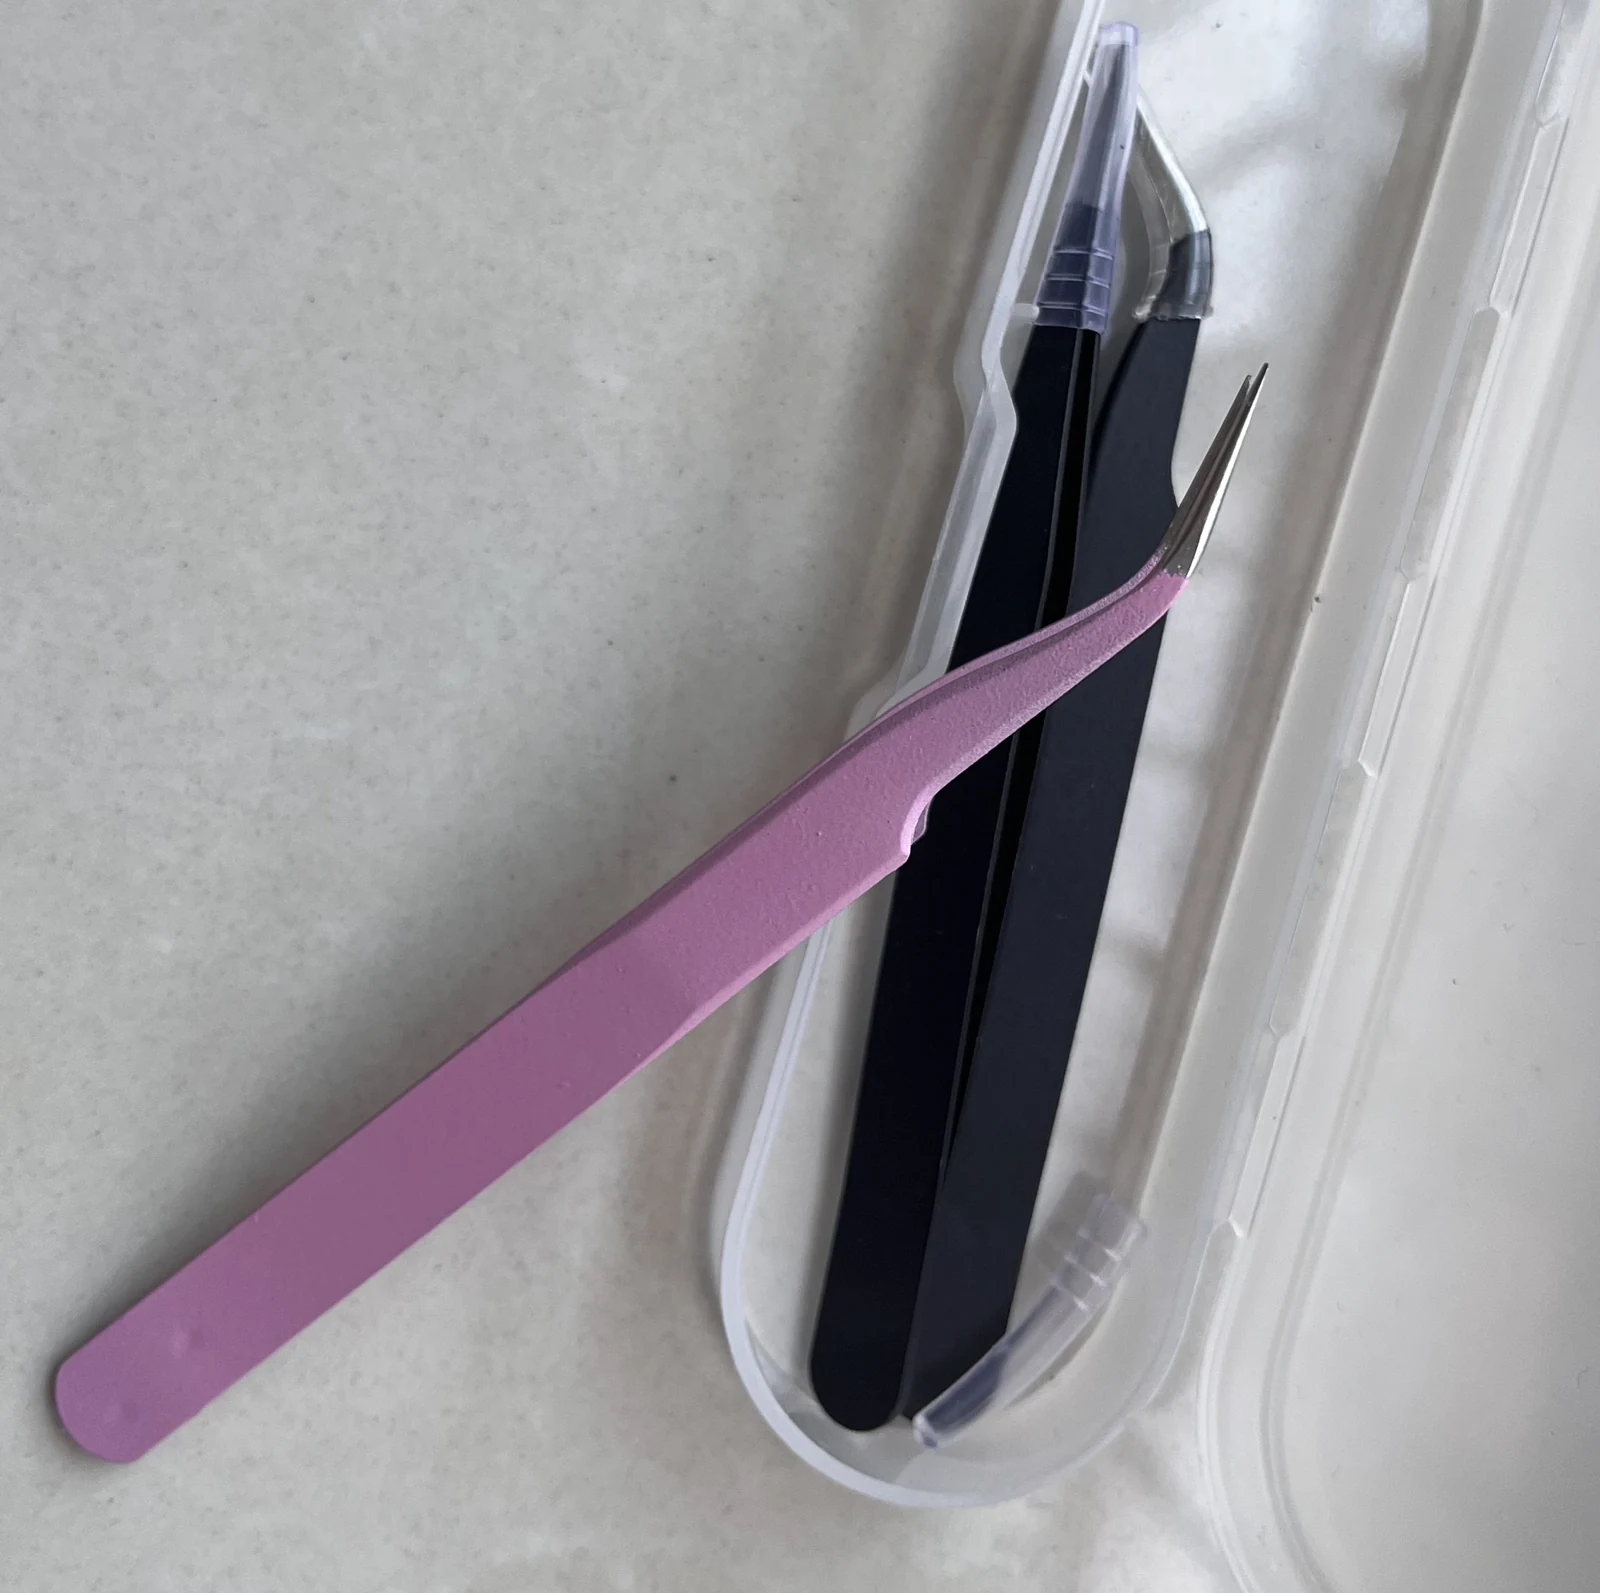
- Tweezers: pick up one or two beads at a time. Using them is self-explanatory, so start here.
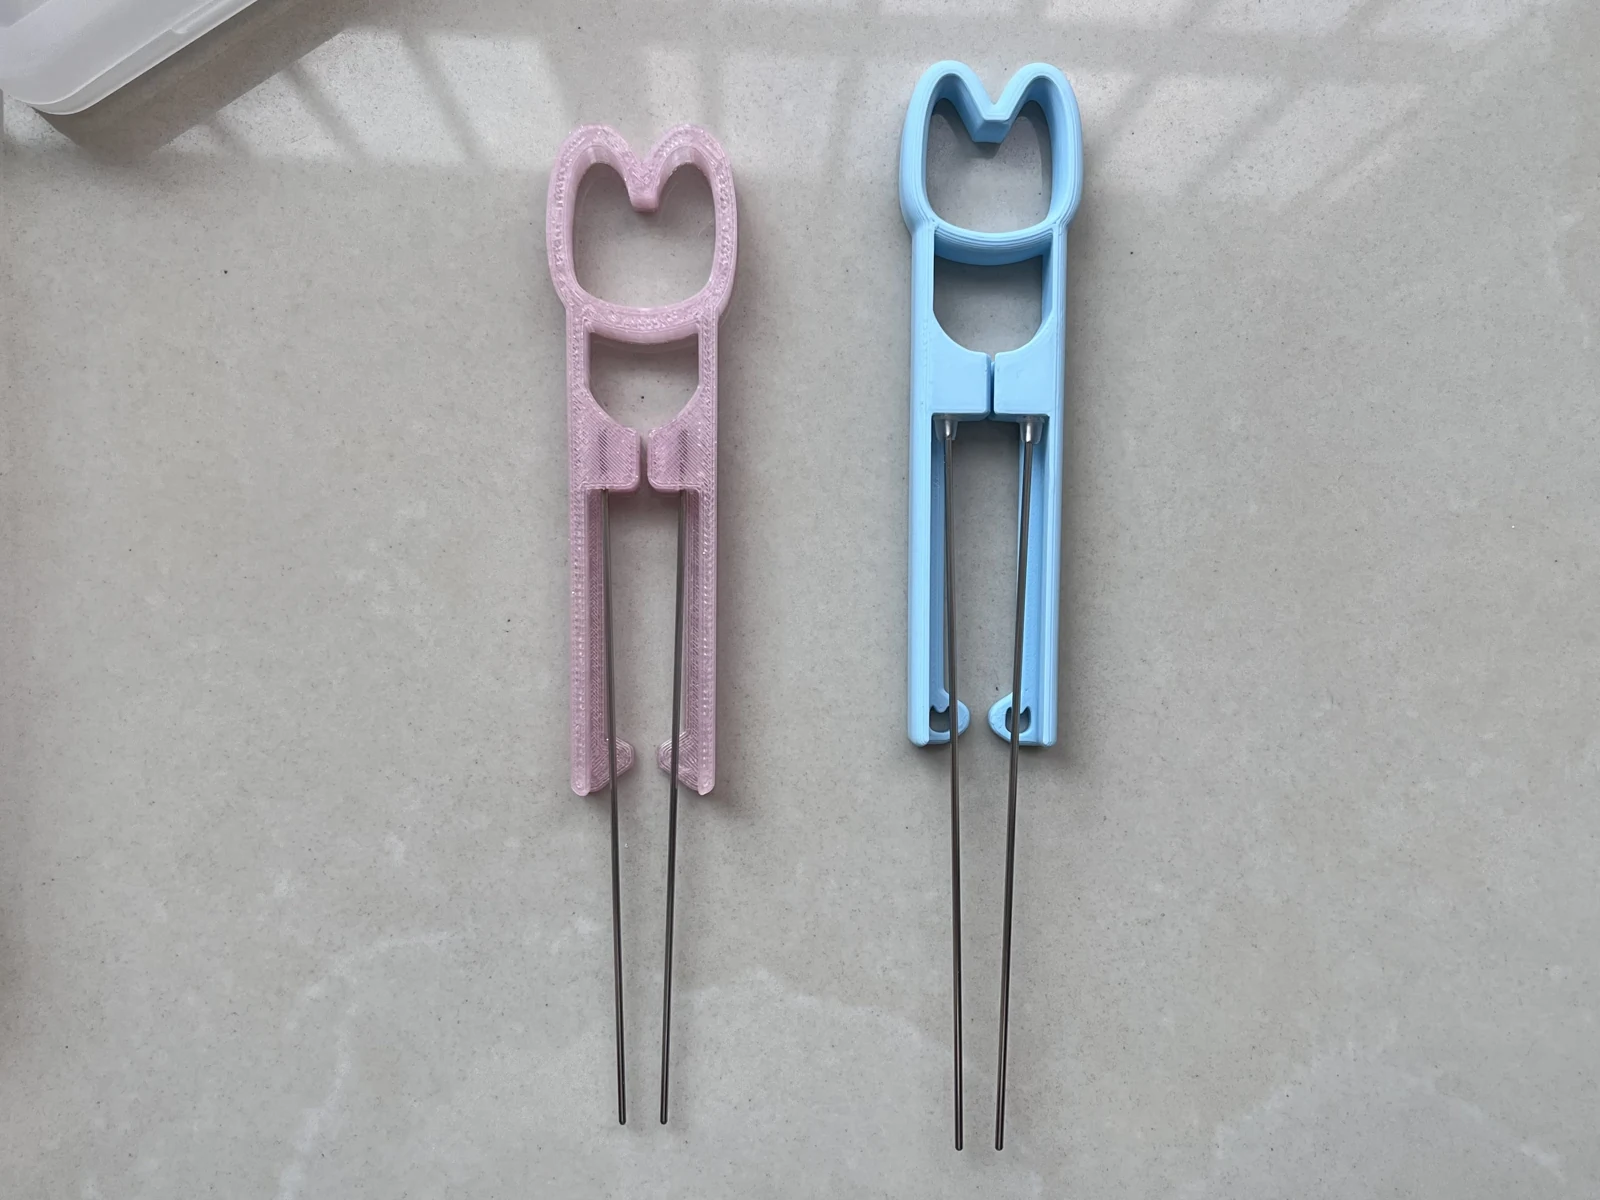
- Bead needle: comes in single and double versions, and threads several beads at once so you can place them onto the board together. Once you're used to it, it's much faster than tweezers.
3. Bead tray
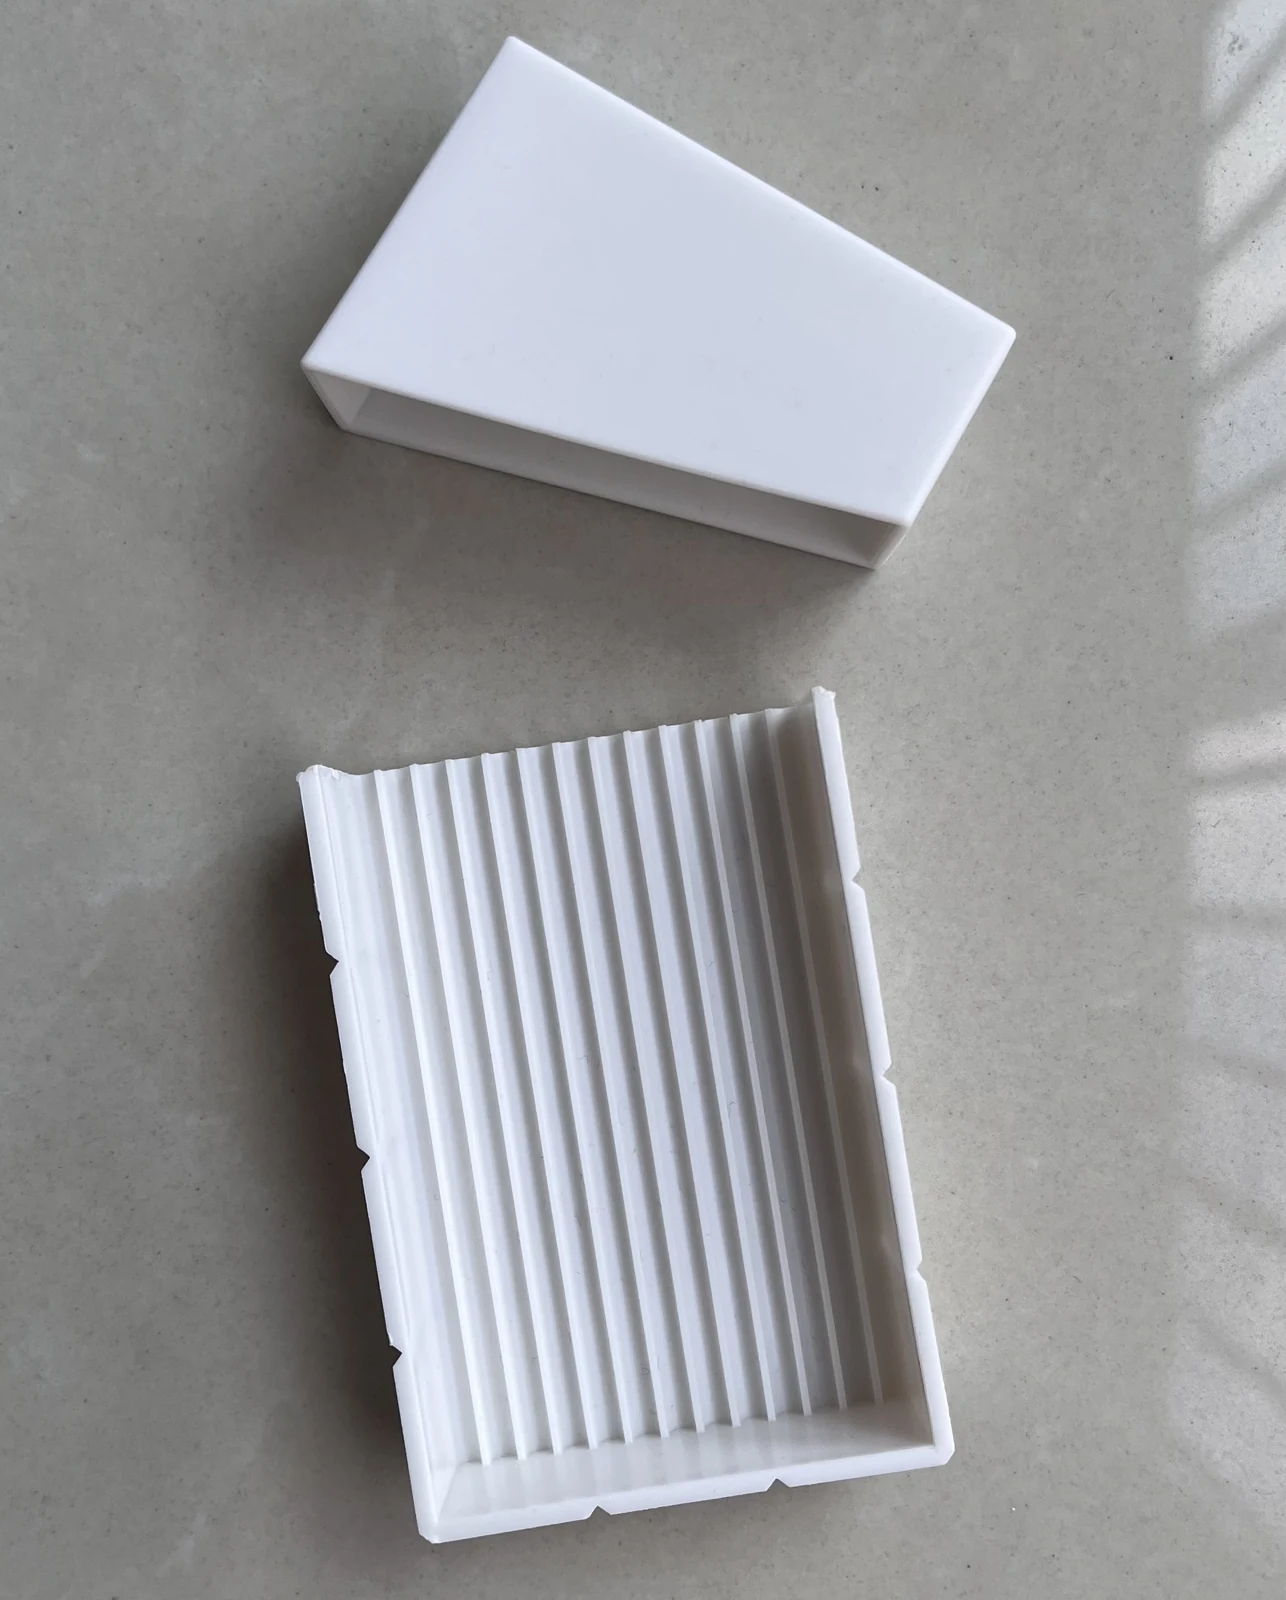
Lays beads down flat so the bead needle can thread several at once. A good companion to the bead needle.
4. Bead box
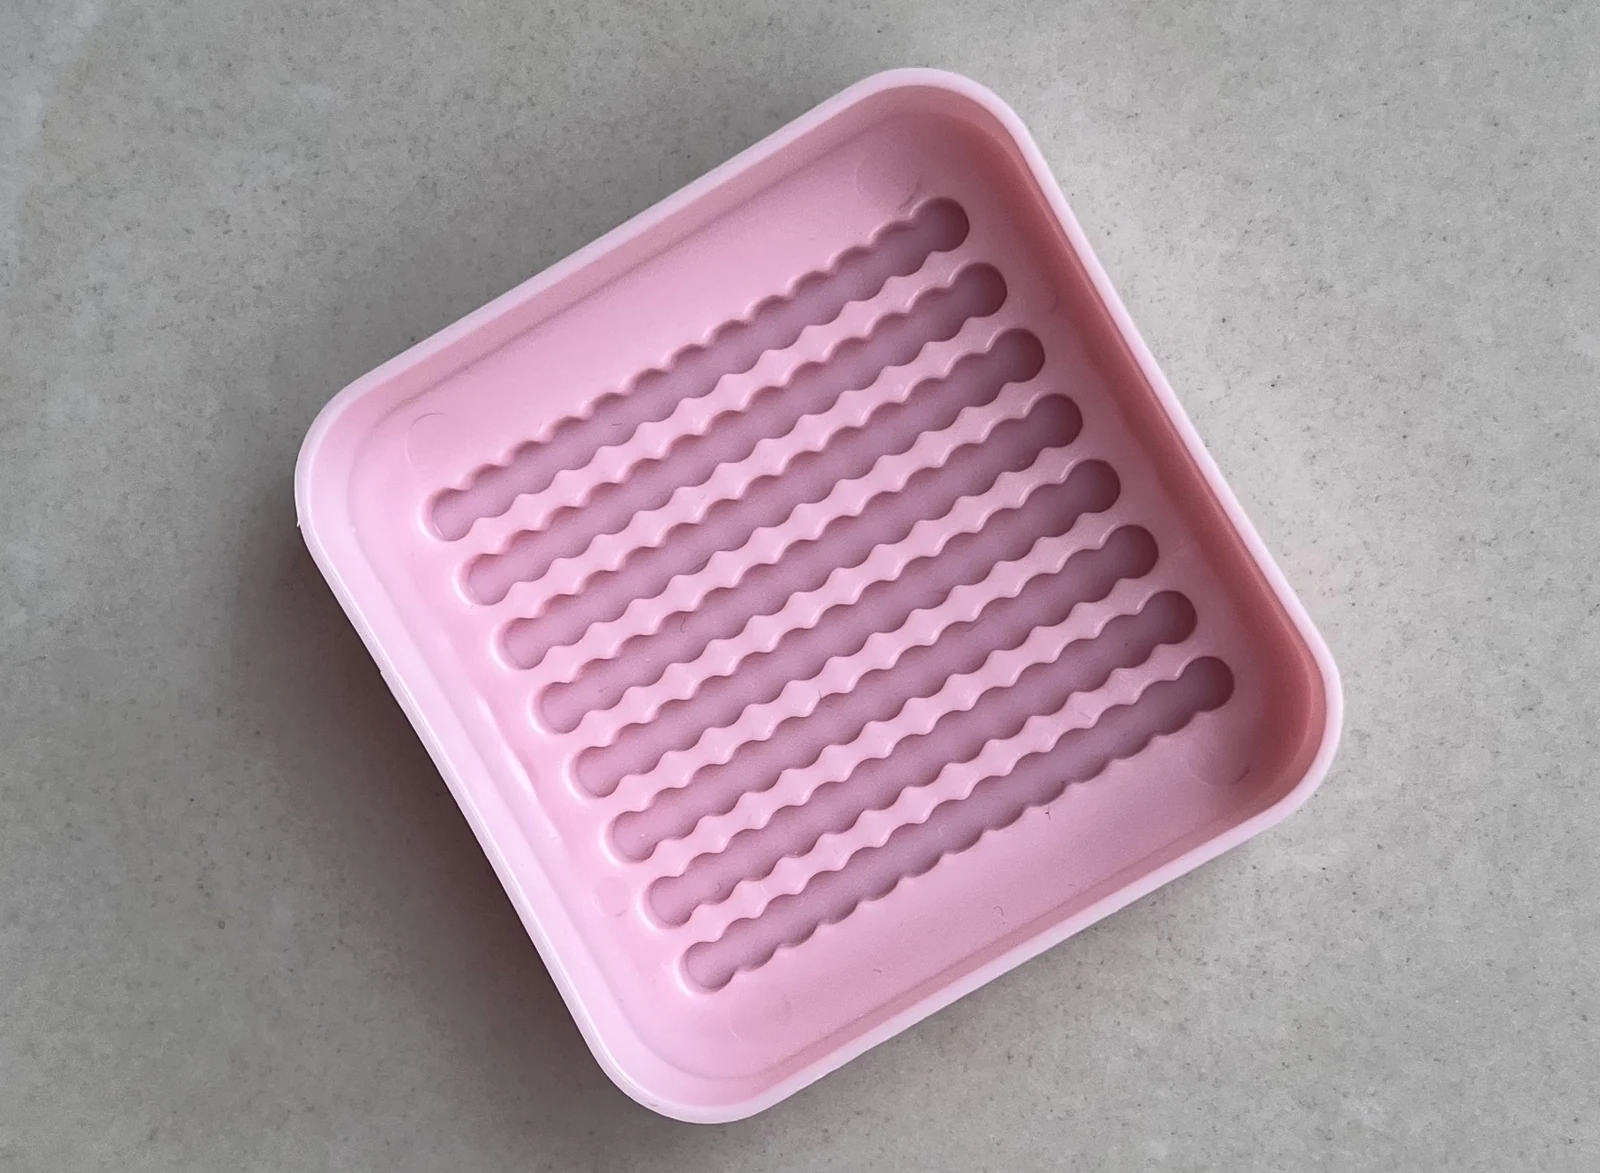
Stands beads upright with the hole facing up. Used with tweezers, it makes picking up beads easier.
5. Teflon ironing sheet
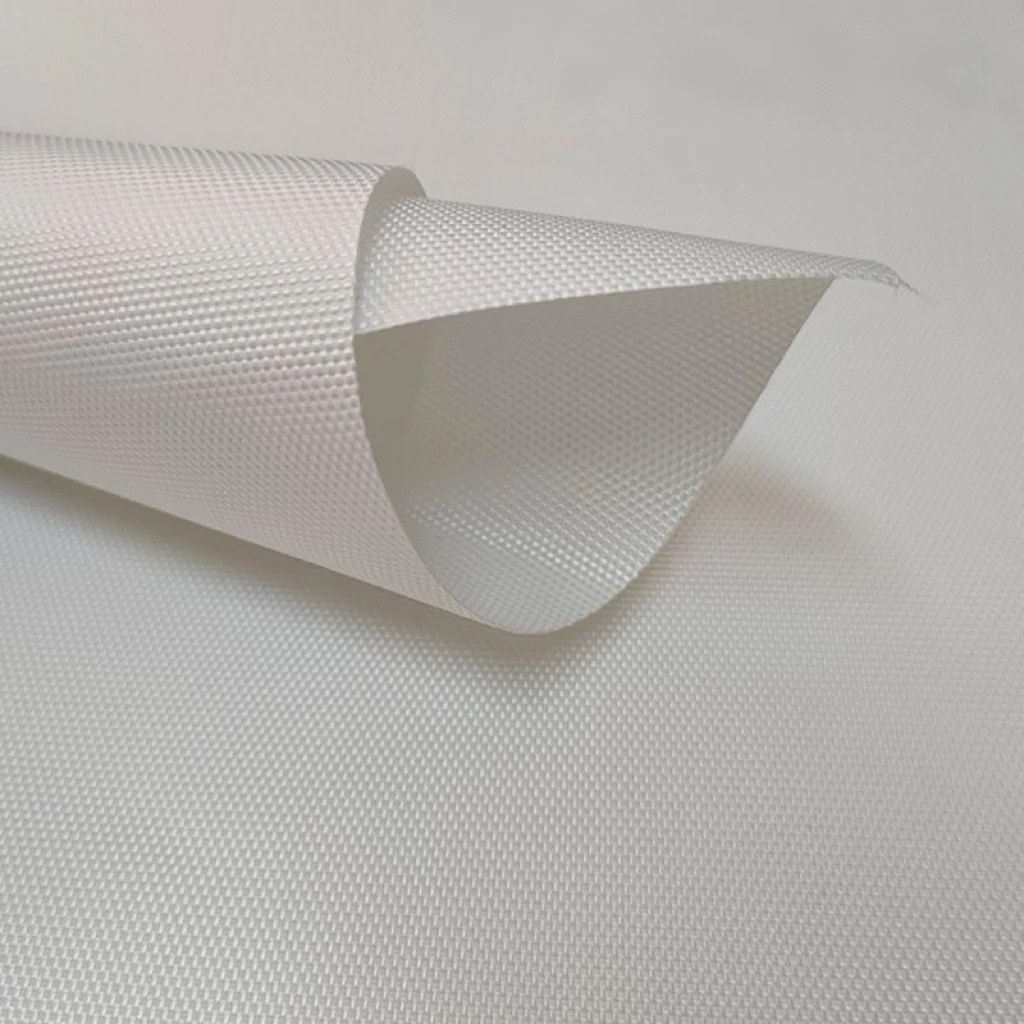
Laid over the beads while ironing, it protects your piece from heat damage and keeps beads from sticking to the iron.
6. Lint roller
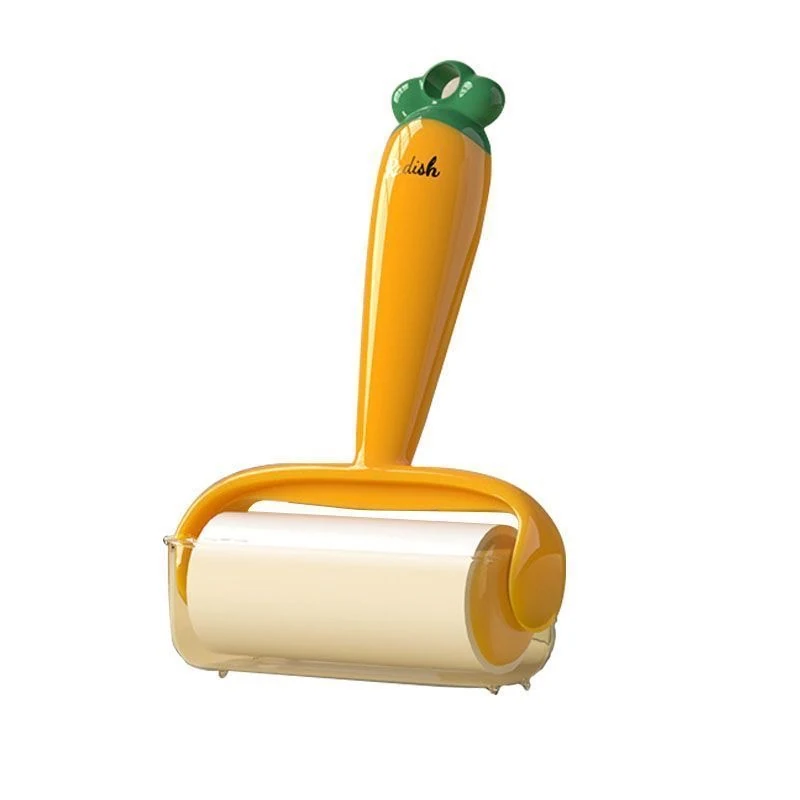
Roll it over the ironing sheet before every session to lift off any lint. Once lint melts into the beads along with the heat, there's no getting it off again.
7. Iron / semi-automatic heat press / fully automatic heat press
Each of the three heating tools has its trade-offs. Judged on how beginner-friendly they are and what you get for the money, GOGO's order is: semi-automatic heat press > fully automatic heat press > iron.
Iron
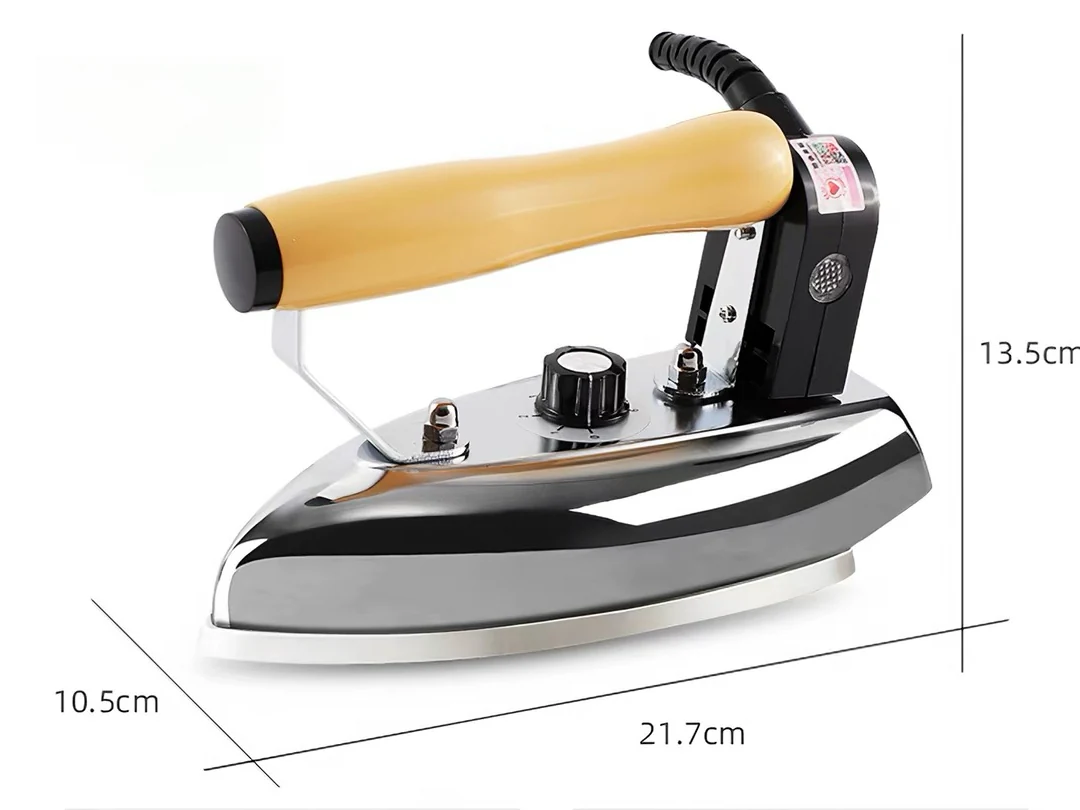
The most common and the cheapest, but the contact area is small and the heat is uneven — often it doesn't even reach the temperature you need. Ironing perler beads with one takes real technique, so it isn't well suited to beginners.
Fully automatic heat press
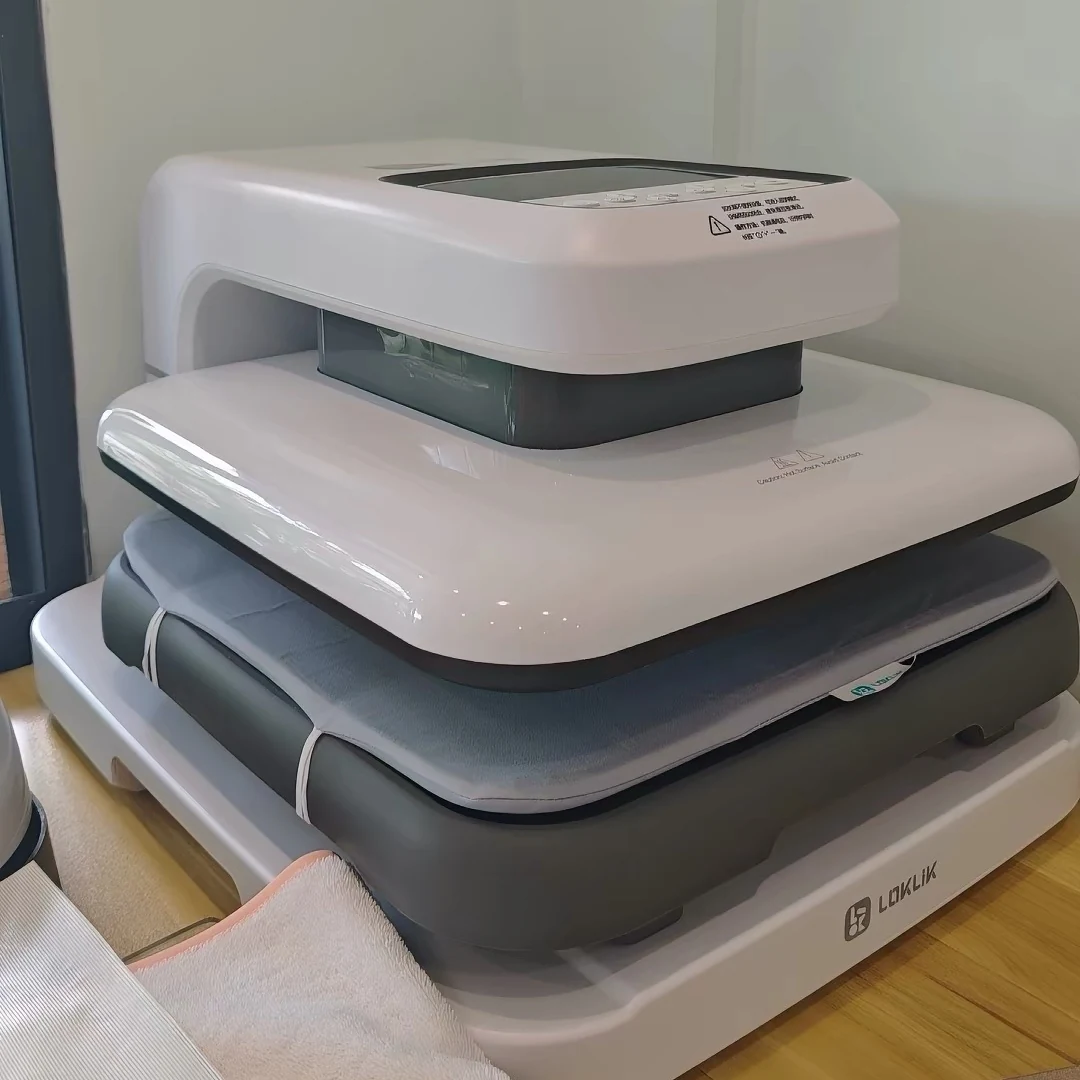
Temperature, time and pressure can all be set; press it down and wait for it to finish. It's the most beginner-friendly of the three. The downside is that it can only press pieces up to the size of its plate, which makes it a better fit for shops.
Semi-automatic heat press
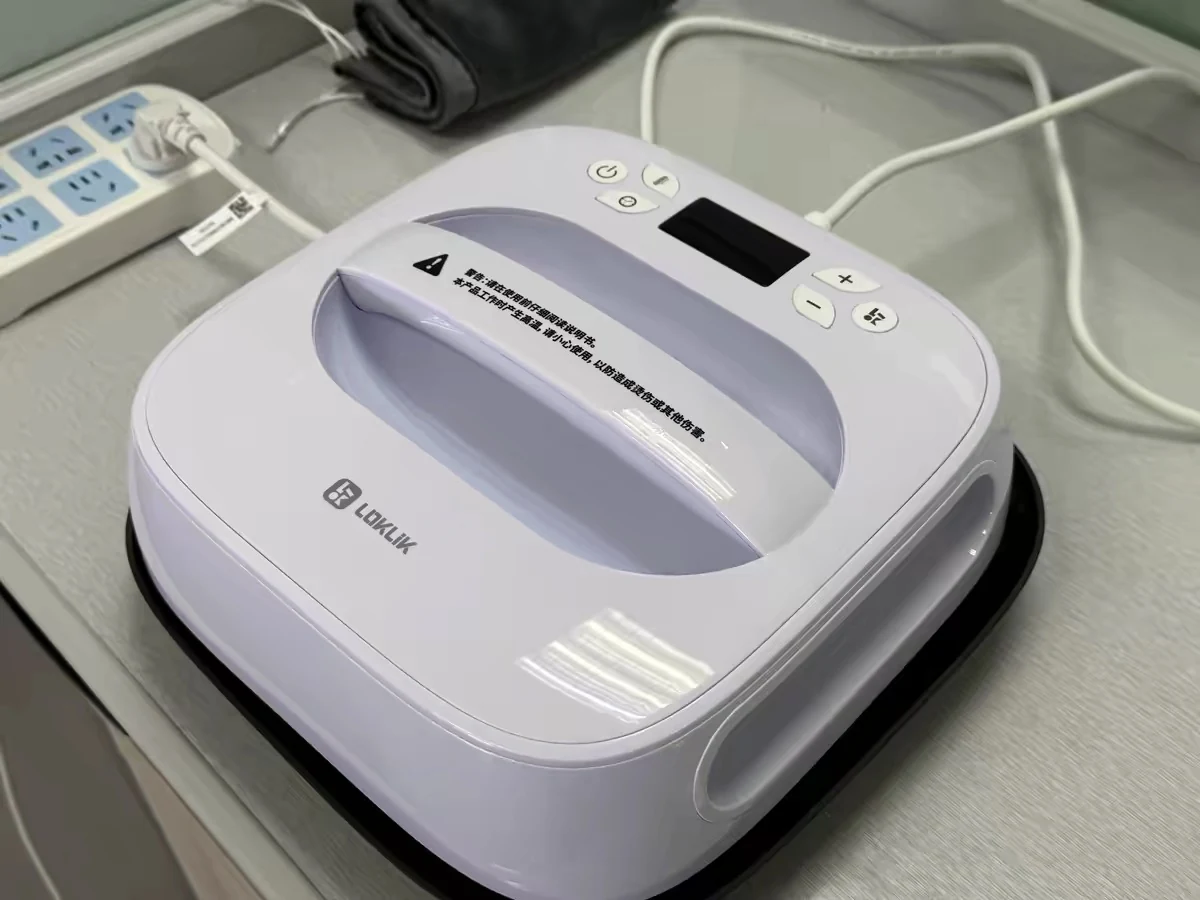
This is what GOGO considers the best value. It covers a larger area than an iron, and temperature and time are adjustable just the same. The pressure isn't adjustable and even the way it is on a fully automatic press, but that doesn't really matter — just lean on it a bit as you press. Best of all, it's flexible: the machine can be moved, so a pattern of any size can be ironed section by section. Very easy to work with.
With your tools ready, you can start your first piece. Welcome to the world of perler beads!
Our tools
Don't forget to try our generators:
- Pattern generator: import a photo or pixel image, match bead colors, and create an editable pattern.
- Pattern recognition: recognize an existing pattern's grid and colors, then proof and refine it.
- Blank canvas: choose a board size and palette, then draw freely from the first bead.
- Personal Gallery: every user gets their own gallery to save and manage their work.